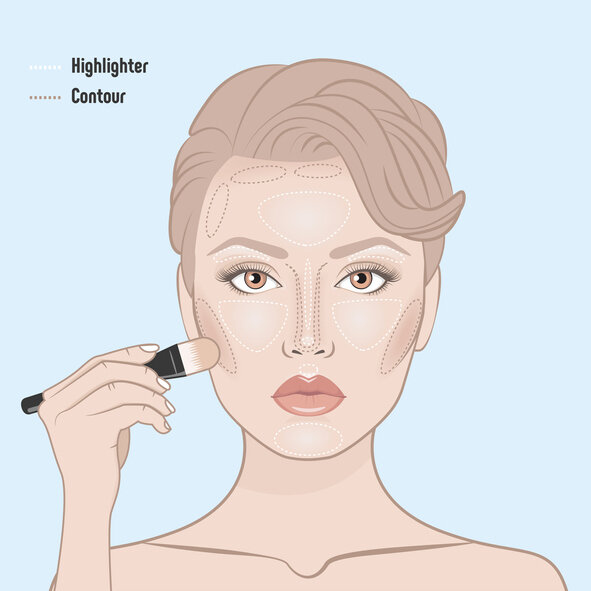
Use this easy guide to highlight the white dot and contour the dark dots
1) Start by applying foundation all over you face and then apply concealer in one to two shades darker or Bronzer using a good healthy Mineral make up like Jordan Essentials that is talc and bismuth oxychloride free.
2) Now time for darker contour shade. Make a fishy face by sucking your cheeks to see the hollows. Sweep darker shade of mineral make up from the middle of your hairline trace alongside the face. It should end underneath the jawline.
Tip: Run the mineral darker shade down the sides of the nose for more slimming effect.
Blend – Blend – Blend the concealer and make sure you keep the darker shade in place. Placement is very important while contouring the face structure because that is how the illusion of jawlines and sharp cheekbones are created.
3) Apply the lighter shade like a mineral veil from Jordan Essentials or lighter shade of Mineral Make up to the highlighted spots such as brow bone, the center of the forehead, down the center of the nose, apples of cheeks, under the cheekbones and cupids’ chin and bow. Just think where the light would hit on your face.
Using your make-up brush, blend, blend and blend. Brush gently to blend the contour shade to your highlight. Make it as effortless as you can. If not able to get it right, no worries, you can always get back to using a sponge.

Good brushes that are cruelty free, long lasting and hypoallergenic are an excellent investment!
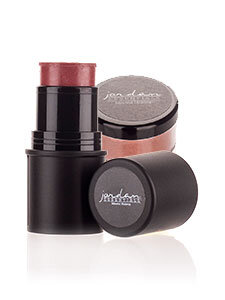
4) Use your favorite blush with add of pop color to your cheekbones. Softer colors look more natural and complement the contouring as well. Colors like peach and light pink are perfect.
DO NOT use the circular motion while applying bronzer to your cheeks as this can lead to the appearance of dark circles under your eyes.
Gently sweep the contour brush in a back & forth motion.
Keep away from your eyes or else it will give the illusion of small eyes.
Don’t apply too many products like concealer, foundation or powder because you do not want it to look too thick. Take a step at a time and stop when you like the results
Contouring takes practice so grab your brushes and get busy!
...come to those who sign up for our emails.
Thanks for joining! Look for your first email to arrive soon!
Click an image to Pin